Diberdayakan oleh Blogger.
RSS

BREAD MASALA TOAST RECIPE | VEGETABLE MASALA TOAST

Iyengar bakery style toast

Vegetable masala toast
Bread masala toast is a open sandwich, which can be made on busy mornings for breakfast and also if you want a light dinner too. I wanted to post a sandwich recipe without using a sandwich maker, and so posting this recipe. This can be made on a tawa and quite easy one to make too. I got this recipe idea from here. A best tiffin for  kids who come back from school and with veggies in it, quite healthy too. I have given this recipe for Kungumam Thozi supplement 2 months back.I made this bread masala toast again and clicked stepwise pictures to post it here.

Ingredients
Bread masala Toast

  Preparation Time : 15 mins | Cooking Time : 20 Mins |   Serves : 3

     Bread slices  3
     Carrot    1
     Bell pepper|capsicum  a small piece
     Onion    1
     Tomato  1
     Cumin seeds  1/4 tsp
     Chaat masala  1/4 tsp
     Red chilli powder   1/4 tsp
     Tomato Ketchup    3/4 tsp
     Salt   to taste
     Butter    to toast bread   
     Oil   1 tsp   
     Coriander leaves  few


Bakery style-Bread-toast
Method:
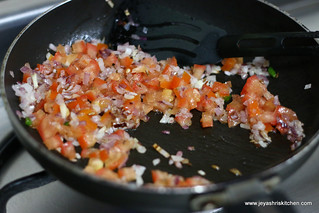
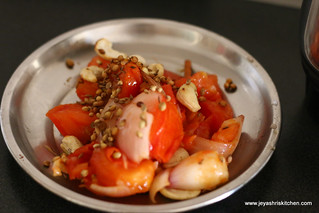
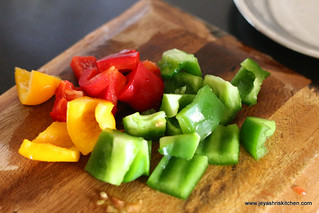
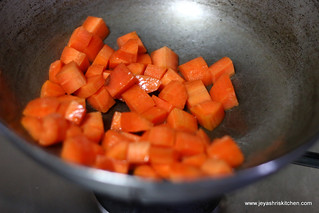
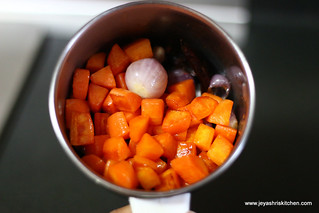
  • Grate the carrots and cut the onion , tomato (deseed the tomato) and capsicum into very fine pieces.
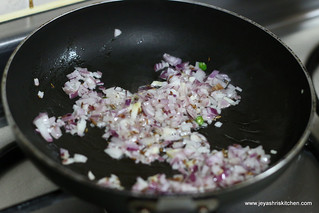
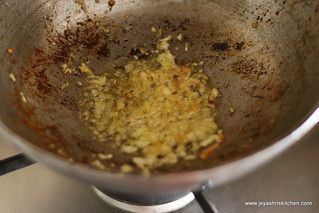
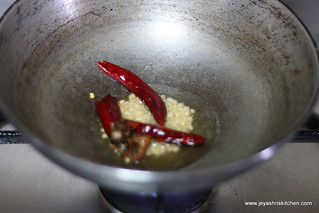
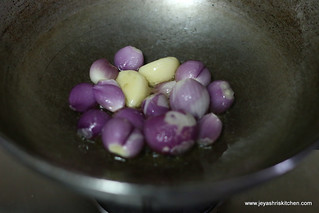
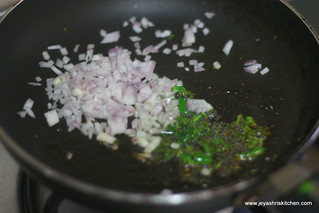
  • In a pan add oil and add in the cumin seeds and add the onions and saute till they turn pink. Add in the chopped tomatoes and saute well.
oniononion+tomato
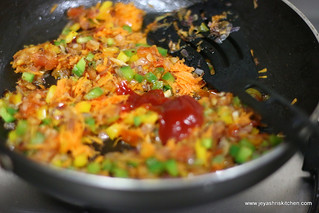
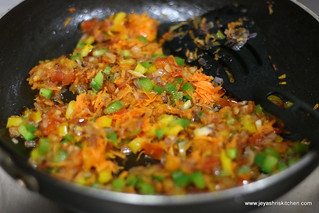
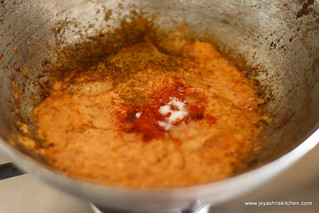
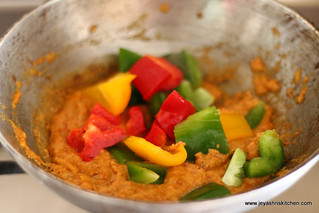
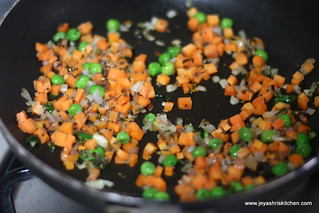
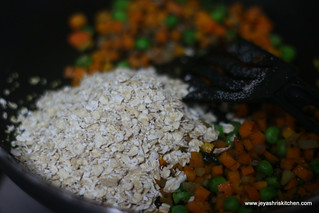
  • Add in the grated carrots and the bell pepper. Stir it once and add the chaat masala,red chilli powder and the the tomato ketchup.
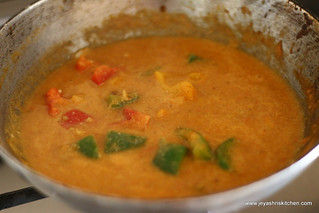
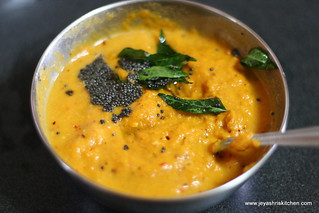
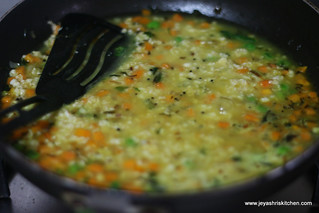
  • Add salt and mix well. Saute in a low flame for 5 minutes. Switch it off .
Add-masalaMasala-for-bread toast
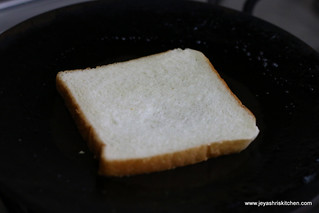
  • Place a tawa and heat it. Toast the bread with little butter on both sides. Spread the filling on the top side and garnish with coriander leaves.
Toast-breadBread-toast
  • Repeat the same for the rest of the bread too.
bread-masala-toast
Notes:
  1. You can add cooked grean peas too.
  2. Any veggies of your choice can be added.
  3. You can either serve this as an open sandwich or serve as a closed sandwich by keeping another toasted bread on it.
  4. Sprouts, cauliflower can be added
  5. Left over potato curry or poori masala can be used as filling.

  • Digg
  • Del.icio.us
  • StumbleUpon
  • Reddit
  • RSS

CAPSICUM MASALA RECIPE | BELL PEPPER MASALA | SIDE DISH FOR ROTI

Capsicum-masala

Capsicum we generally add for paneer gravies or other onion tomato based gravies. We make south indian style Sambar with Capsicum too. I have already posted a Capsicum dry curry too. This recipe was published in the Aval Vikatan Supplement book which i contributed 3 months back. A very easy and rich gravy with capsicum and a perfect side dish for roti too.
Check out my


Ingredients
Capsicum masala

  Preparation Time : 15 mins | Cooking Time : 25 Mins |   Serves :3-4

     Bell Pepper | Capsicum(all colours)   1 Cup
     Onion    1
     Tomato   1
     Red chilli powder   1/2 tsp
     Ginger Garlic paste   1 tsp
     Oil    3 tsp
     Garam masala    1/4 tsp
     Salt   to taste
  To roast and Grind
   Cumin seed   1/4  tsp
   Coriander Seeds    1/2 tsp
   Cinnamon    1 small stick   
   Cashew nuts  6-8


Capsicum-masala
Method:

  • In a pan add little oil and saute the onion and tomato for few minutes and allow this to cool.
  • Dry roast the ingredients given under "roast and grind".
  • Cut the capsicum into big cubes.
To grindCut -capsicum
  • Grind both together into a fine paste.
  • In a pan add oil and add  ginger garlic paste.
  • Cook in a low flame till the raw smell goes.
GrindGinger garlic paste
  • Add the ground masala, red chili powder, salt and garam masala and cook for few minutes.
  • Add the cubed capsicum and mix well.
Add-masalaAdd-capsicum
  • Add half cup of water or little more to bring it to the gravy  consistency.
  • Boil this for few minutes and switch off the flame. You can either add kasoori methi or coriander leaves for garnishing.
capsicum masala
  • Serve hot with phulkas | parathas.
Mirch-masala
Notes:
  • Always ensure that the Capsicum should not be over cooked and let this be crunchy.
  • If you want the gravy to be more richer, you can add 2 tblsp of fresh cream in the last.
  • While dry roasting the masala, be careful not to get it burnt, else it will spoil the taste.

  • Digg
  • Del.icio.us
  • StumbleUpon
  • Reddit
  • RSS

CARROT CHUTNEY RECIPE | SIDE DISH FOR IDLI|DOSA

Chutney without coconut

Carrot-Chutney
      It has been a long time since i posted a recipe in the category Side dish for Idli | dosa. This carrot chutney, though not very regular, but i make when i run out of tomatoes. A very simple chutney and best way to make kids eat carrots too. I just made it in my Kara chutney style , with few alterations. We all loved the taste and it tasted so yum with Dosai. Try out this Carrot Chutney and even you can have with parathas too.

Ingredients
Carrot Chutney

  Preparation Time : 10 mins | Cooking Time : 15 Mins |   Serves : 3-4

     Carrot   2
     Small Onion   8-10
     Garlic    2 pods
     Urad dal    1/2 tblsp
     Red chilli   2-3
     Tamarind   a small piece
     Salt   to taste
     Oil   2 tsp
     Mustard seeds    1/4 tsp
     Curry leaves    few

Carrot-Chutney

Method:
  • In a pan add little oil and roast the urad dal, red chili and tamarind, till the dal turns golden brown. Keep it aside.
  • In the same pan add the onions(take the skin of the onions) and garlic.
  • Roast till golden brown. Keep it aside. Roast in a small flame.
urad dal+chiliOnion+garlic
  • Add in the roughly chopped carrots. Cook in a low flame for 5 minutes.
  • When everything is cool, grind urad dal, red chilli, tamarind, onions, garlic and carrots along with salt into a fine paste. You can add water while grinding.
Carrotto grind
  • Temper with mustard seeds and curry leaves. 
Grind
  • Carrot Chutney is ready to serve.  Carrot-Chutney
Notes:
  1. You can add little grated coconut while grinding.
  2. Shallots can be replaced with big onions.
  3. Urad dal can be replaced with channa dal

  • Digg
  • Del.icio.us
  • StumbleUpon
  • Reddit
  • RSS

OATS SAVORY PORRIDGE RECIPE | BACHELORS RECIPES | INDIAN STYLE MASALA OATS

Oats-porridge
Oats porridge is a simple and easy breakfast recipe. Bachelors or students who stay away from home and are bored with the routine bread and jam and cornflakes for breakfast can try this easy and simple Indian style Oats Porridge. Even for people who are on diet and weigh watchers can make this for their dinner . You can make this porridge for a evening snack too. I myself had this many times even for lunch or dinner also. Let me share this easy Bachelor recipe – Indian style masala Oats porridge.

Ingredients
Oats Savory Porridge

  Preparation Time : 5 mins | Cooking Time : 15 Mins |   Serves : 2

     Quick cooking Oats   1/4 Oats
     Onion    1
     Coriander leaves   few
     Carrots  1/2
     Green peas  1tblsp
     Green Chilli  1
     Turmeric powder  a pinch
     Oil     1 tsp
     Salt    a pinch

Oats-porridge

Method:
  • Chop the onions, carrots finely .You can grate the carrots too. Slit the green chilli. In a pan add oil and add the mustard seeds and green chilli.
  • Saute for few minutes and add the coriander leaves too.
  • Adding coriander leaves at this stage will enhance the flavour of the porridge.
  • Add the carrots, green peas, turmeric powder and salt.
add-onion-corianderAdd-veggies
  • Add in the Oats and add 1and 1/2 cups of water. Keep cooking for 5 minutes in a low flame. the Oats will get cooked fast. Stir in between. Adjust water according to the your preference . Switch off the flame .
add-oatsoats-kanji
  • Serve it always hot. This porridge serves as a filling breakfast.
Oats-porridge
Notes:
  • Red chilli can be replaced by green chilli if you want.
  • You can add more veggies like capsicum or cauliflower if you want.
  • A pinch of garam masala can be added too while sauting the vegetables.
  • You can add tomato too while making the porridge. If adding add while sauting the onions.

  • Digg
  • Del.icio.us
  • StumbleUpon
  • Reddit
  • RSS

ADIRASAM RECIPE | DIWALI SWEETS RECIPE

Adirasam 
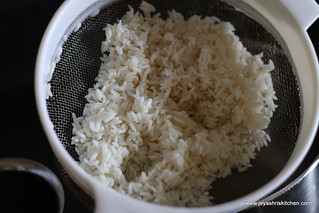
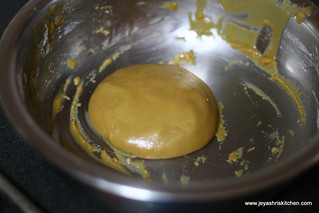
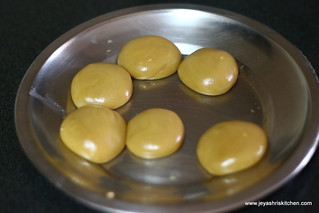
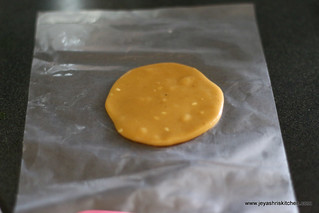
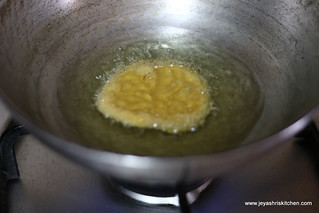
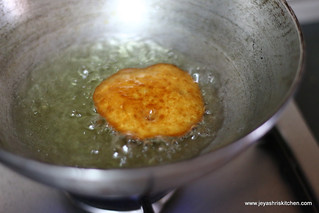
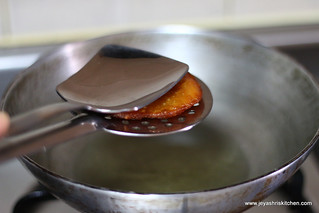
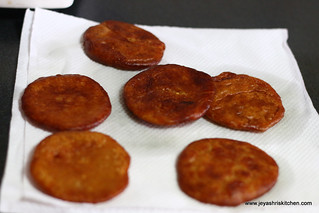
Adirasams i made it for the first time. Many of them make for adirasams for Diwali but we don’t have the tradition of making this for diwali.  But i wanted to try my hands on Adirasam. I tried it in my mom’s house when i went in June. My sister’s sil helped me out but unfortunately it was a big disaster. My mom went for  a function in Trichy 2 months back and there she asked the samayal mami the exact proportion and also the nuances of making adirasams. And she tried this in small quantity at home and gave me the exact recipe. Yay i got perfect soft adirasams.
Actually i tried this during Navaratri itself , though i wanted to make again today, i was totally running out of time.


Ingredients
Adirasam

  Preparation Time : 1 hour + 12 hours resting timeCooking Time : 30 Mins |   Yields: 6

    
     Raw Rice   1/2 cup
     Jaggery   1/4  cup
    Sesame seeds   1/2 tsp
    Oil     for deep frying
   Ghee   2 drops
   Cardamom powder   2 pinches


Adirasam-recipe
Method:
  • Soak the rice in water for an hour. Drain the water in and just keep it in a vessel which has holes or in a big sieve.
  • Do not spread the rice. Just allow the water to drain and le the rice has moisture content.
  • Make it into a powder in the mixie. Sieve this and keep it aside. The maavu will  slightly have moisture content.
ricesieve
  • Cover the flour and keep.
sieveflour
  • Add jaggery in a pan and melt the jaggery and filter the impurities if any.
  • Allow this to boil till it comes to the soft ball consistency.
  • This is very important, if the paagu will be hard then the adirasams will be hard.
  • If the soft ball doesn’t come this will get dissolved while putting in oil.
  • By putting the jaggery syrup in water it should come like a collective mass and form a soft ball. This is the right consistency.
boilingjaggery
  • Add this syrup to the rice flour which we made. Add cardamom powder and sesame seeds. No need to roast the sesame seeds.
  • Mix it well. If it is little not firm it is ok. After 12 hours it will be perfect.
flourdough
  • Keep it covered and let it rest for 12 hours.No need to keep in fridge. Let it be in room temperature.  After that take this and make it into equal sized balls.
adirasam doughballs
  • Take one ball and in a ghee greased zip lock place this and flatten this with your hands. Do not flatten too thin.
  • Take this out carefully and put in hot oil. Keep the flame low. the adirasams will cook very fast.
  • So keep on low.
flattenfry
  • Fry on both sides till golden brown and when done with the help of 2 ladles flatten the adirasam and remove the excess oil. The adirasam may fluff up while frying. No need to worry, by doing like this it will be flattened.
frysqueeze -oil
  • Drain in a kitchen towel.
  • Repeat this for the excess dough.
fried adirasams
  • Soft adirasams are ready to eat.
  Adirasam
Notes:
  1. Always ensure that the jaggery is in right consistency. If it goes hard or little lesser than soft ball the adirasam will dissolve in oil.
  2. Always use fresh home made flour, store bought flour will not work out for adirasam.
  3. I used bit nice dark colour jaggery. Colour of  adirasam depends on the colour of the jaggery.
  4. If the dough is hard , adirasams will be hard. So ensure that the dough is soft.
  5. Resting  time is more imporatnt. Even 2 days resting also ok.
  6. Resting will give soft adirasams also it will not absorb more oil.
  7. If you feel the dough is too hard add some jaggery syrup again and mix. Ensure that the jaggery syrup must be of soft ball consistency.

  • Digg
  • Del.icio.us
  • StumbleUpon
  • Reddit
  • RSS