How to make vathal kulambhu with instant podi.

Those who follow Jeyashri's kitchen regularly, know that i have started the Indian kitchen basics , Microwave recipes and Bachelor recipes, few weeks back. Check out this series HERE .
This week i am posting the instant vathal kulambhu podi. Just add this powder to the tamarind paste and water and bring it to a boil, yummy vathal kulambhu is ready. It was very flavourful. you can make puliyodarai with this podi too.
Check out my other authentic Vathal kulambhu recipes too.
Arachuvitta Vathal kulambhu
Vengaya Vatha kulambhu
Ingredients 
Preparation Time : 15 mins | Cooking Time : Nil | Yields 1 cup
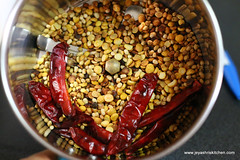
For making podi
Toor dal 3 tblsp
Coriander seeds 3 tblsp
Channa dal 3 tblsp
Urad dal 1 tblsp
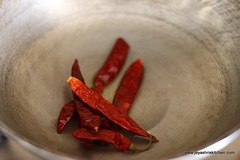
Red chilli 7-8
Black pepper 4-5
Vendayam (methi seeds) 1 tsp
For making Vathal kulambhu- Serves 2
Tamarind paste 1 and 1/2 tbslp
Water 1 and 1/2 cup
Instant vathal kulambhu powder 2 tblsp
Sesame Oil 2 tsp
Mustard seeds 1/4 Tsp
Salt As needed
Turmeric powder 1/4 tsp
Asafoetida a pinch
Any veggie or vathal of your choice
Curry leaves few
For making podi
Toor dal 3 tblsp
Coriander seeds 3 tblsp
Channa dal 3 tblsp
Urad dal 1 tblsp
Red chilli 7-8
Black pepper 4-5
Vendayam (methi seeds) 1 tsp
For making Vathal kulambhu- Serves 2
Tamarind paste 1 and 1/2 tbslp
Water 1 and 1/2 cup
Instant vathal kulambhu powder 2 tblsp
Sesame Oil 2 tsp
Mustard seeds 1/4 Tsp
Salt As needed
Turmeric powder 1/4 tsp
Asafoetida a pinch
Any veggie or vathal of your choice
Curry leaves few

Method:
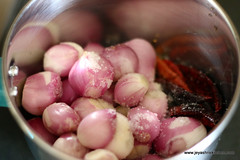
- Dry roast all the ingredients without getting them burnt.


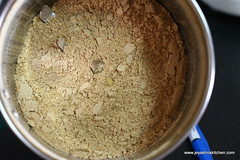
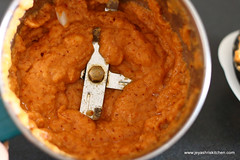
- Allow this to cool and grind it into a fine powder.
Let us see how to make vathal kulambu with this instant vatha kulambhu podi.
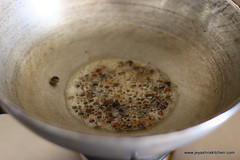
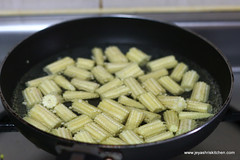
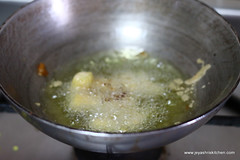
- In a pan add sesame oil and throw in the mustard seeds.
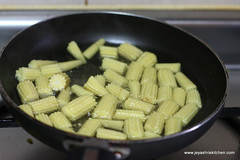
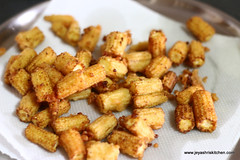
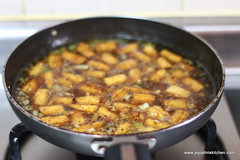
- Add the veggie or vathal (i used manathakkali vathal).
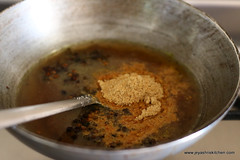
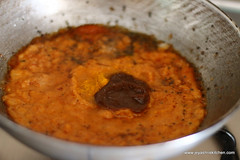
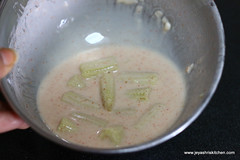
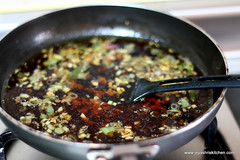
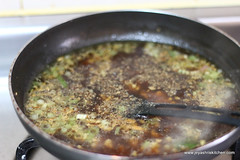
- Add tamarind paste and water.
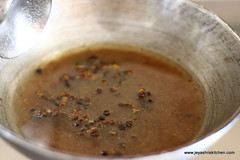
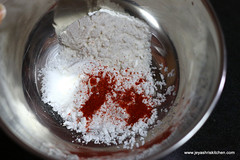
- Add the instant vathal kulambhu podi, salt , turmeric powder, salt and asafoetida.
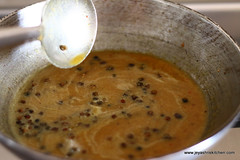
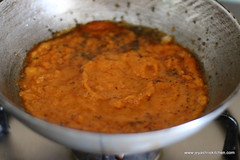
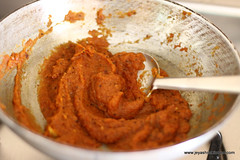
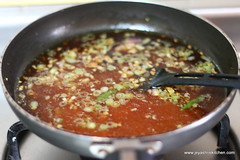
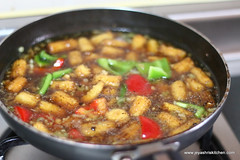
- Bring it to a nice boil till it reaches the gravy consistency.
- Switch off the flame and add curry leaves.
- Enjoy with hot rice and a roasted papad.


 Notes: