Diberdayakan oleh Blogger.
RSS

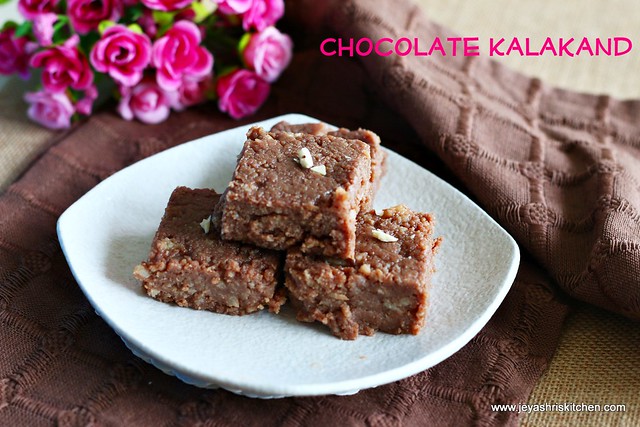
CHOCOLATE KALAKAND RECIPE | EASY DIWALI SWEETS

Chocolate-kalakand
I have already posted Kalakand recipe , which is a bit elaborate one. If you want to try an easy and delicious Sweet for this Diwali 2014, then here goes this Chocolate kalakand. I tried this with store bought paneer. I was in a  dilemma of whether to use store bought paneer  or to make paneer at home. During a casual chat with Raks she  was telling that store bought paneer too came out well. So i decided to stick on to the store bought paneer for this chocolate kalakand recipe. I am very sure your kids will love this chocolate kalakand for sure. Varun, who never eats sweets, after me insisting him to try this taste this kalakand, had a bite and hugged me and told"amma you are awesome"!!
Check out my Chocolate burfi 

Ingredients
Chocolate kalakand

  Preparation Time : 5 mins | Cooking Time : 15 Mins |    Yields:7 big pieces

     Grated paneer  1 cup
     Milk powder   1 cup
     Condensed milk   1 cup
     Cocoa powder   2 tsp
     Butter | ghee  1/2 tsp
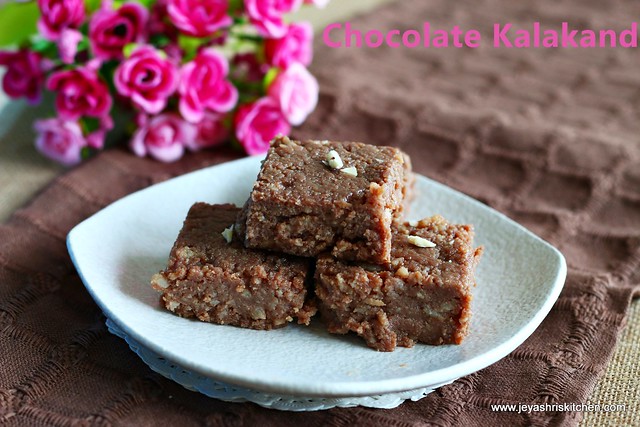

Chocolate -kalakand-recipe
Method:
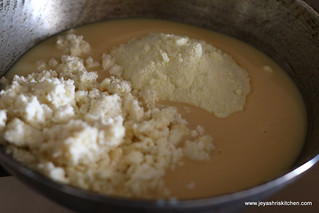
  • In a pan combine the paneer, milk powder and condensed milk and mix it evenly without any lumps.
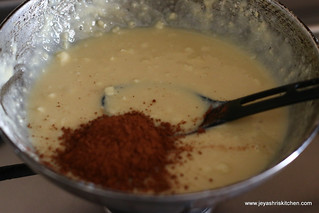
  • Cook the mixture in medium low flame for 10 minutes and add in the cocoa powder.
  • Initially when i made it i don't know how much time it will take, so i added cocoa powder after 5 minutes. Cooking will cocoa powder for a long time will give slightly bitter taste to the kalakand.
  • So add it towards the end .
milkmaid+paneer+milkpowderadd-cocoa

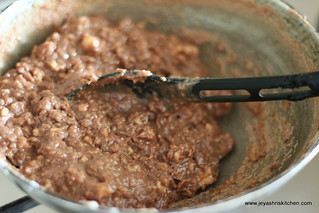
  • Stir well till it comes to a whole mass leaving the sides. This will come quickly.
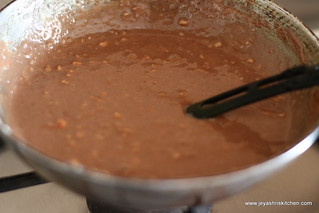
stirstir

  • Grease a plate with butter or ghee.
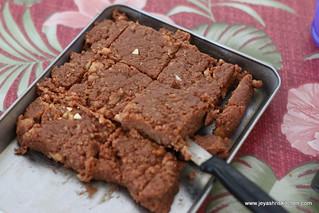
  • Transfer this to the greased plate and allow this to cool. Keep it in a refrigerator for 2 hours. Cut this into cubes with a sharp greased knife.
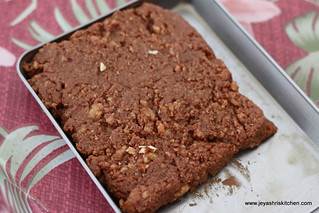
Chocolate-kalakandKalalkand
  • If needed you can garnish with sliced almonds or pistachios.
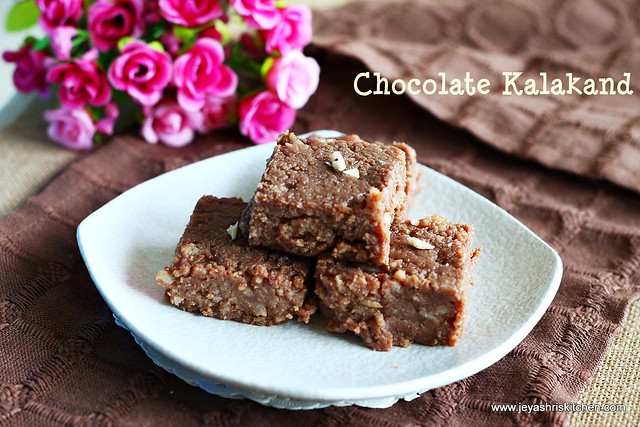
Chocolate-kalakand
 
Notes:
  • You can use Home made paneer too.
  • Do not cocoa powder more than the quantity mentioned.
  • The kalakands will not be firm as other burfis . It will be soft and chewy.


  • Digg
  • Del.icio.us
  • StumbleUpon
  • Reddit
  • RSS

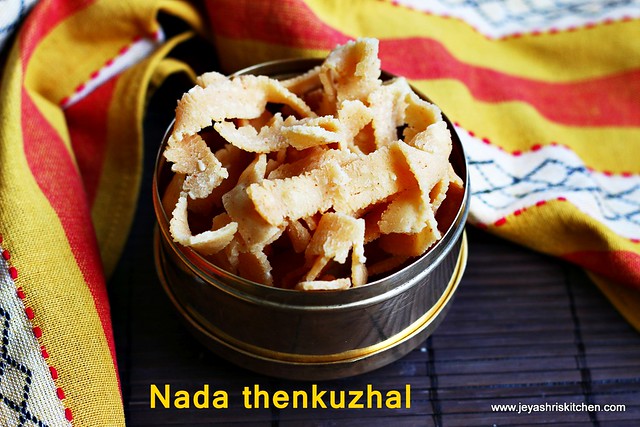
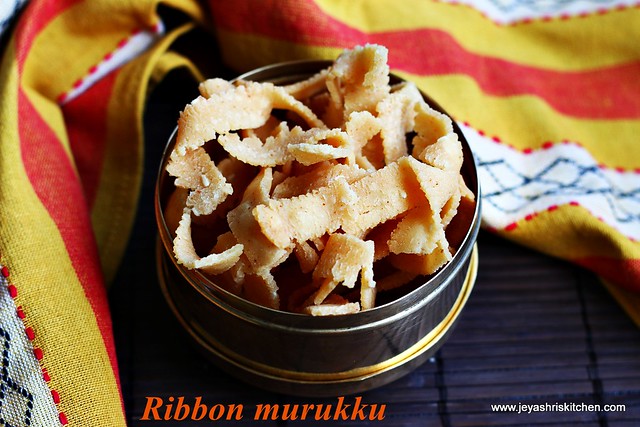
RIBBON MURUKKU RECIPE | OLA PAKODA RECIPE | DIWALI SNACKS RECIPES

Ribbon-murukku
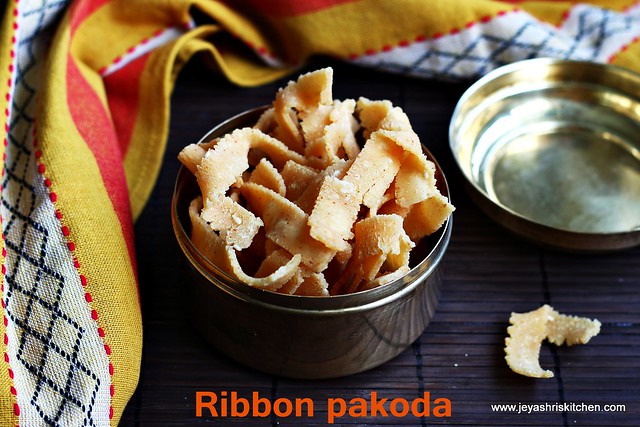
I have already posted ribbon pakoda few years back. This version of ribbon murukku is an interesting one without the usual rice flour and gram flour combo. As mentioned in my milagu thattai post, this recipe too i got from my chitti. My amma passed on this flour according to the proportion mentioned by her. So i had the ready made flour and i find it very easy to make ribbon murukku with the instant flour. Even making the flour at home is quite easy one too. The ribbon pakodas were too crispy and a perfect snack for diwali too.
Check out other Diwali snacks recipes:

Ingredients
Ola-pakoda

  Preparation Time : 10 mins | Cooking Time : 20 Mins |   Yields: 3 cups

     Rice flour  6 cups
     Pottukadalai  |  chutney dal 1 cup
     Moong dal   1 tsp
     Channa dal   1 tsp
     Urad dal    1 tsp
     Sesame seeds   1/4 tsp
     Red chilli powder  as needed
     Salt    to taste
    Butter   2 tsp
    Hot oil   1 tblsp
    Asafoetida  a pinch
   Oil        for frying 


Ola-pakoda
Method:

  • If making the flour in rice mill, dry roast the urad dal, channa dal and moong dal till it emits a nice aroma. 
  • Add it to the rice along with pottukadalai and make it into a flour.
  • If making at home, take 6 portions of rice flour, powder the pottukadalai and powder the roasted dals too. Sieve everything together for even mixing. Flour is ready for ribbon pakoda|ola pakoda.
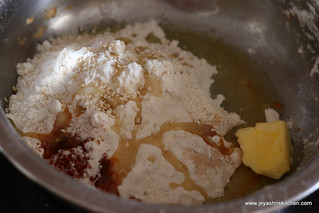
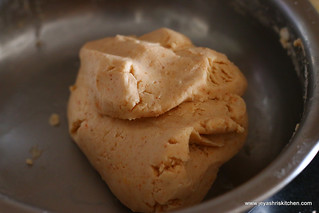
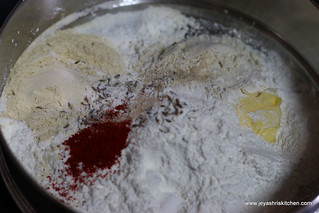
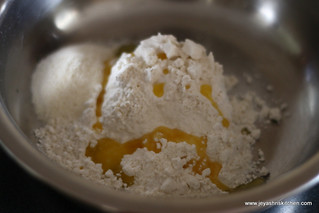
  • In a wide bowl take 2 cups of flour, add sesame seeds, butter,hot oil, red chilli powder,salt and asafoetida.
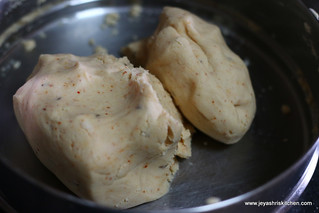
  • Add little water to this and make into a soft dough.
to-make-doughdough
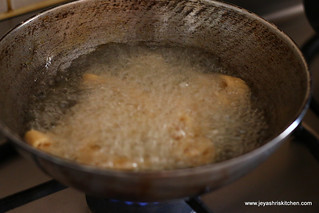
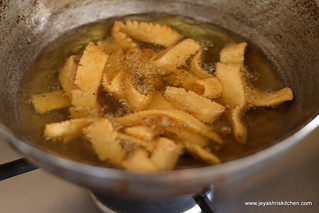
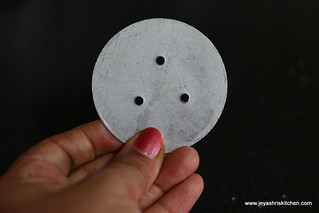
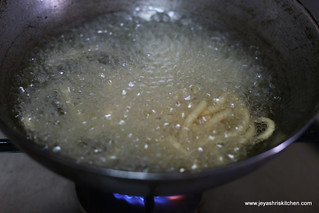
  • In a murruku press using ribbon pakoda achu press the ribbon pakoda into hot oil. Ensure the oil should not be smoky. It should be medium high.
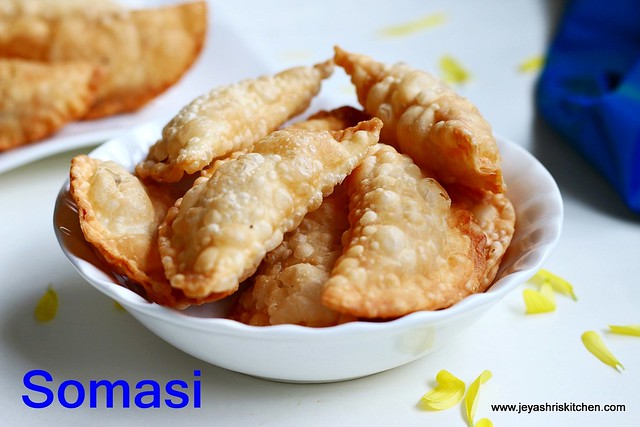
  • Fry till the sound subsides.
fry-in oilfry
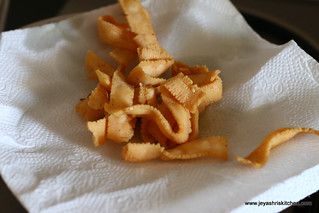
  • Drain in a kitchen towel. Repeat this for the rest of the dough.
ribbon-pakoda
  • Store in a dry air tight container.Ribbon-pakoda
Notes:
  1. Do not overcrowd the pakodas in oil. It will not get cooked.
  2. While making the first batch , keep the dough covered .
  3. Do not knead more dough, it will make the pakodas reddish soon.
  4. If you want you can add ground fresh pepper and add instead of red chilli powder.
  

  • Digg
  • Del.icio.us
  • StumbleUpon
  • Reddit
  • RSS

KARA THENKUZHAL MURUKKU RECIPE | EASY DIWALI SNACKS

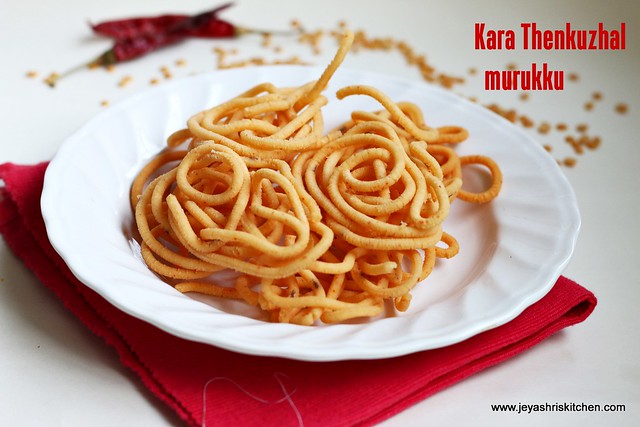
Kara-thenkuzhal
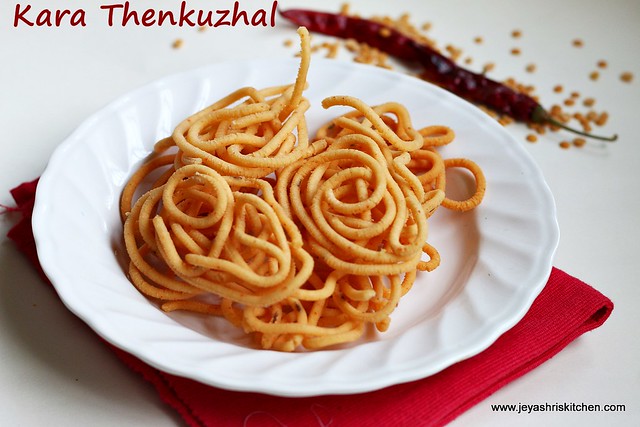
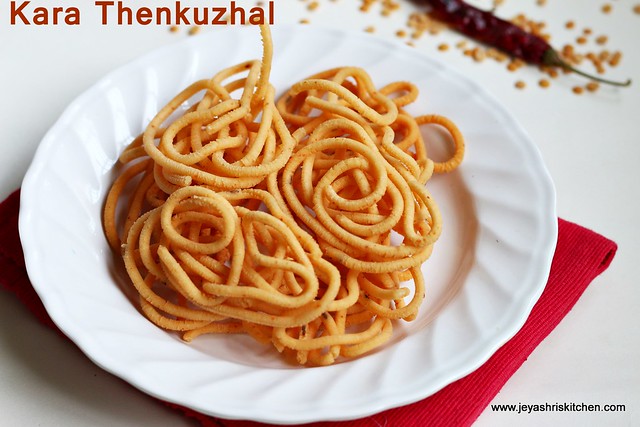
Diwali 2014 is nearing very fast and i know you must be busy in planning what sweets and snacks for Diwali festival. Murukku | Thenkuzhal is a must one in all of the houses. Last year itself my friend told, her sister will make thenkuzhal by adding toor dal to the flour, while grinding. After that i completely forgot about that . Before we visited India in June, i happened to see a Kara thenkuzhal recipe in a cookbook which my friend gave me. I noted down the recipe and got the toor dal ground in the flour mill to make this for diwali. Though you can grind in the mixie, always flour mill grind flours are very smooth in texture. And made this murukku during navaratri, when i  visited my friend. It was very crispy and i loved the flavor of the thenkuzkal too. Try this kara thenkuzhal for a change from the usual murukku.
Check out other murukku recipes

Ingredients
Kara Thenkuzhal murukku

  Preparation Time : 10 mins | Cooking Time : 20 Mins |   Yields : 15 murukku

     Rice flour   3 Cups
     Toor dal     1/4 cup
     Urad dal    1/4 cup
     Red chilli powder   1 tsp
     Salt     as needed
    Cumin seeds   1/2 tsp
    Butter   2 tsp
    Hot oil    2 tsp
    Oil    for deep frying  


Thenkuzhal-murukku
Method:
  • Combine the rice flour, toor dal flour(just powder in this mixie, no need to roast),urad dal flour, red chilli powder,salt, cumin seeds, butter and hot oil.
  • Add little water to this to make this into a smooth dough.
flourdough
  • Heat oil. Using the thenkuzhal achu in a murukku press sqeeze out the murukkus in hot oil.
  • If you are not used to directly  squeezing in hot oil, you can squeeze in a ladle an flip it to the oil.
thenkuzhal-achudeep-fry
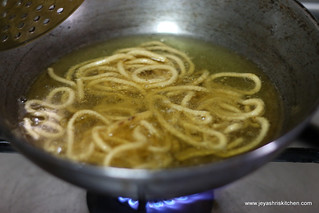
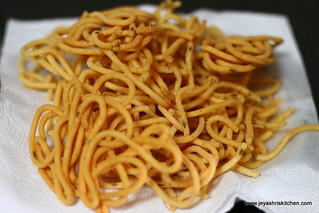
  • Fry till the oil sound subsides. Take it out from the oil and drain in a kitchen towel.
  • Repeat this for rest of the dough.
deep-fryKara-thenkuzhal
  • Store this crispy thenkuzhal in an airtight box. Perfect munch with tea/coffee.
    thenkuzhal-murukku
Notes:
  1. Always fry the murukku on medium heat, if it is too high murukku will turn redish fast and spoil the taste.
  2. If fried in very low flame, makes the murukku soggy and will drink oil.
  3. If by any chance you don't get toor dal flour, try replacing moong dal flour. Will taste very nice too.
  

  • Digg
  • Del.icio.us
  • StumbleUpon
  • Reddit
  • RSS

MILAGU THATTAI RECIPE| DIWALI SNACKS

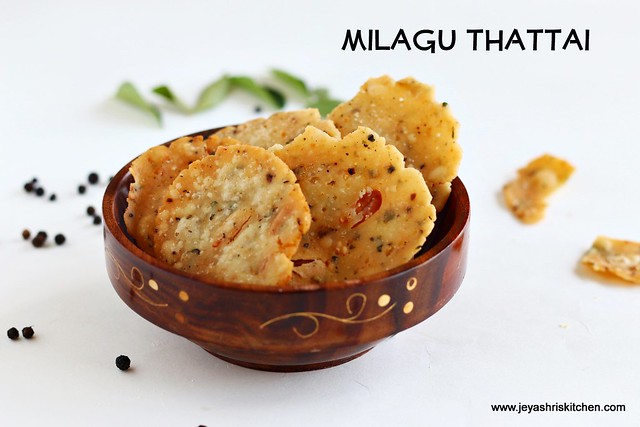
milagu-thattai
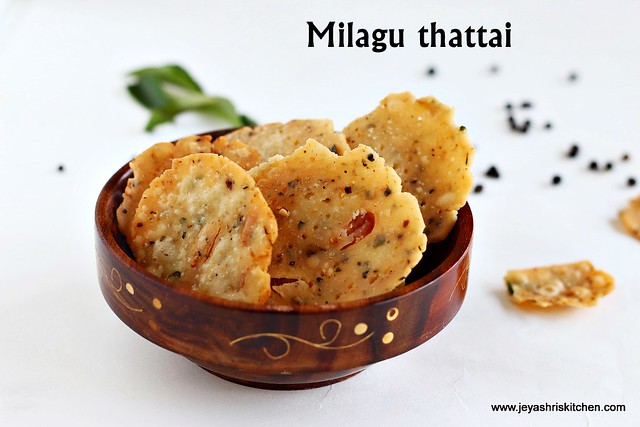
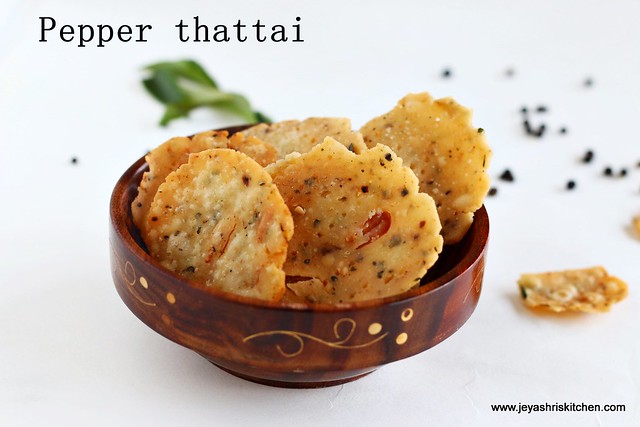
I have been posting sweets recipes for Diwali 2014 last week and wanted to post few snacks recipes too in this week. Milagu thattai | Pepper flavoured thattai, is a very crispy snack and it tasted very similar to the Grand Snacks thattai. Those who have tasted the thattai from Grand sweets and snacks can relate to it. My sister tried this recipe and the recipe was originally from my chitti, who is an expert in making Bakshanams. She always huge packets of sweets and savories to her sons who are in US. My akka after trying her thattai, insisted me to try it and post it for diwali. It was very crunchy and melted in mouth. I made in small portions and it got over in a day.

Ingredients
Milagu-thattai

  Preparation Time : 25 mins | Cooking Time : 20 Mins |   Yields : 20

     Rice flour    6 portion*
     Pottukadalai|chutney dal  1 portion
     Peanuts  2 tsp (de skinned)
     Butter    2 tsp
     Hot oil   2 tsp
     Black Pepper   6-7
     Asafoetida   a pinch
     Curry leaves   few
     Oil    for deep frying
     Salt    to taste

* I tried with 6 tbslp of rice flour and 1 tblsp of pottukadalai flour

Milagu-thatttai
Method:
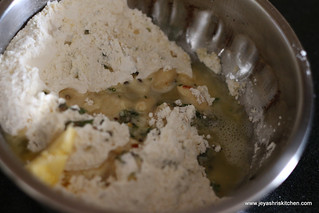
  • In a wide bowl add the rice flour, pottukadalai flour, peanuts, salt, butter, hot oil. Pulse the curry leaves, black pepper , curry leaves and asafoetida once to make it coarse powder.
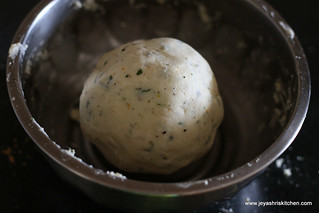
  • Add this to the bowl. Make this into a soft  dough by adding little water.Make dough without adding cracks.
ingredientsdough
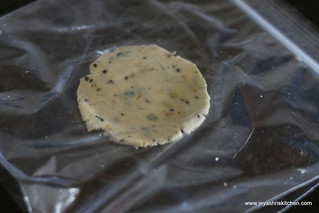
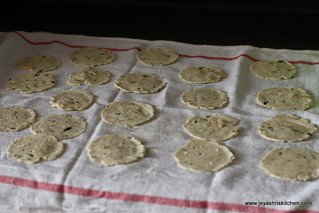
  • Keep it covered . Take a small lemon sized ball. Flatten it with your palms to make a small round. You can prick it with fork. Repeat this for the rest of the dough and dry these thaatis on a clean white cloth.
  • After making 10 thattais, you can even start frying.
make -roundspread-in cloth
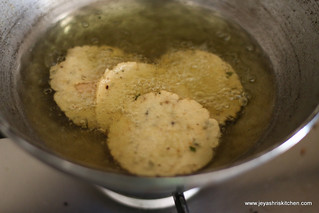
  • Heat oil and when it is hot put the flattened thattais into the oil. Fry in medium flame till the shhh sound subsides.
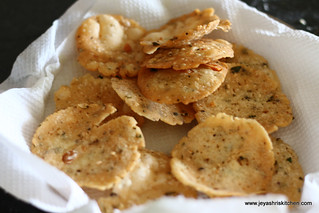
  • These thattais will not turn golden brown. So when the sound of the oil subsides take out the thattai.
fryThattai
  • Store this thattai in a airtight container. Crispy thattais are ready to eat with hot coffee or hot tea.
  Milagu-thattai
Notes:
  1. You can soak channa dal for 30 minutes and add it to the dough.
  2. Do no flatten the thattais too thin, it will tear while frying.
  3. Flattening it too thick will make it undercooked while frying.
  4. Do not add pottukadalai flour more than the amount mentioned. The thattais will get drink too much oil and may have chances of dissolving into the oil.

  • Digg
  • Del.icio.us
  • StumbleUpon
  • Reddit
  • RSS

SWEET SOMAS RECIPE | KARANJI RECIPE |DIWALI SWEETS RECIPES

Somasi
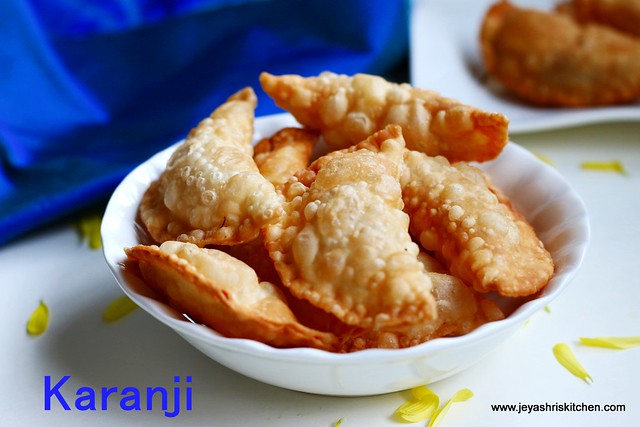
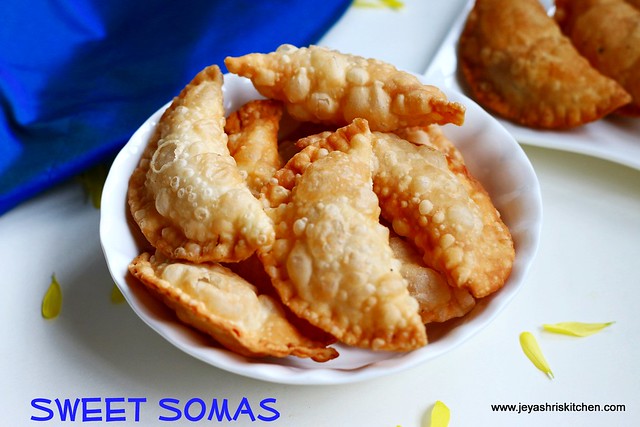
Somasi | Sweet somas| Karanji |Karjikkai recipe is prepared by my grandma for Diwali every year. Though it is bit elaborate process but it is worth trying. I still remember my paati makes this effortlessly, a full drum of sweet somas along with so many other Bakshanams for Deepavali. She is my biggest inspiration more than my mother, as i grew up seeing her doing all the work efficiently and with lots of passion too.
 Many people make this karanji for Ganesha Chaturthi too.

Ingredients
Sweet somas

  Preparation Time : 30 mins+ resting time1 hour | Cooking Time :25 Mins |  Yields: 13-14

     For the outer cover
    Maida | all purpose flour    1/2 cup
    Sooji | Rava    2 tblsp
    Oil /ghee   2 tblsp
    Salt    a pinch
    Cooking soda   a pinch
   Water   to knead the dough

    For the filling
  Sugar   1/2 cup
  Dry coconut(koparai)*  1/2 cup
  Pottu kadalai | Chutney dal  1/4 cup
  Cardamom powder    a pinch
 Oil    for deep frying*you can also use freshly grated coconut, but roast it nicely in a dry pan before using.
  

Sweet-somas
Method:
  • In a wide bowl add the flour, sooji(pulse the sooji) and add oil to this.
  • Make it like a bread crumbs with the tips of your fingers.
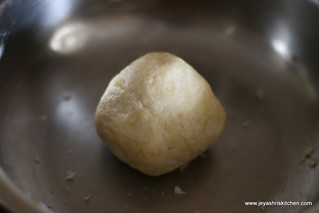
  • Add little water and make it into a tight dough.
add-oildough
  • Keep it aside covered for an hour.
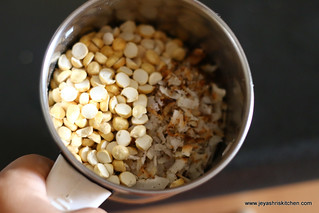
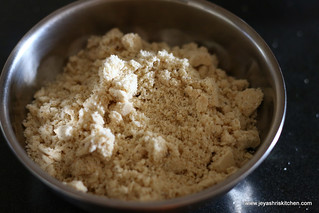
  • For making the poornam roast the dry coconut for 5 mins and when it is cool, grind it along with pottukadalai and sugar. Add cardamom powder and mix pulse once.
grindpowder
  • This poornam can be stored in a clean container and can be had as it is. Actually poppy seeds will generally be added to this poornam. But since we don’t get it here, i didn’t use it .
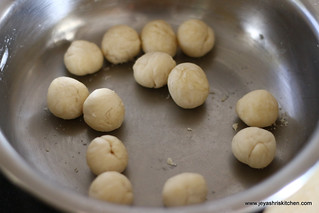
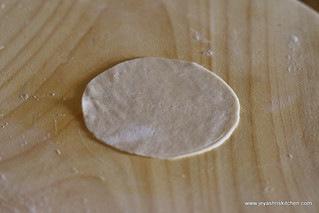
  • Divide the dough into small lemon sized balls. Take one lemon sized ball and roll it very thin with a rolling pin. I just cut with a lid to make a even size round.
lemonsize ballsmake-round
  • Apply little water to the edges . This is to make it seal tightly.
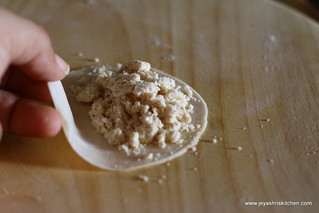
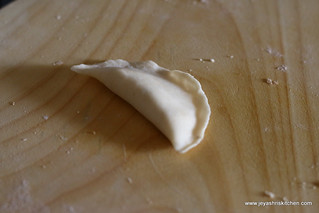
  • Place 2 tsp of poornam in the center and join the edges by folding it.
put -poornamfold
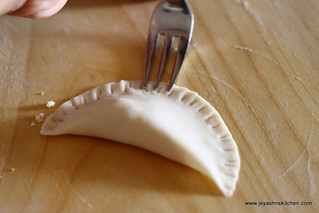
  • With a fork make patterns in the edges. Even you can use a somasi cutter to make the edges even.
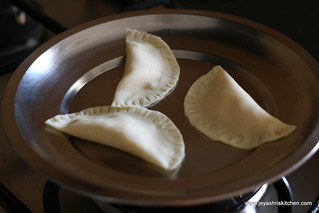
  • Keep it covered till you finish the process for the entire somasis.
cut-forksomas
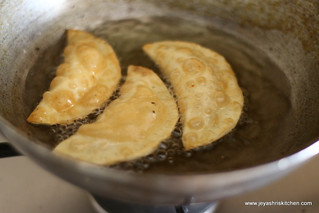
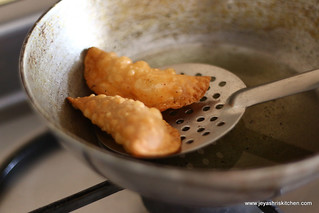
  • Heat oil for deep frying and when the oil is hot put the folded somasi in batches and fry till golden brown on both sides.
  • Drain in a kitchen towel .
fry-in oildeep-fry
  • Repeat this for all the somasis. Store it in a air tight container.
  • It stays good for more than 10 days.
Sweet-somas
Notes:
  • While rolling the dough ensure let it be thin, else the somas will not be crispy.
  • Make the edges sealed properly, else it may open up in the oil while frying.
  • Let the dough be stiff.
  • You can have the left over poornam as it is or my mom have this with chapathi or dosa too.
  • You can add hot ghee to the poornam and make urundais too.

  • Digg
  • Del.icio.us
  • StumbleUpon
  • Reddit
  • RSS