Diberdayakan oleh Blogger.
RSS
Tampilkan postingan dengan label Snack. Tampilkan semua postingan

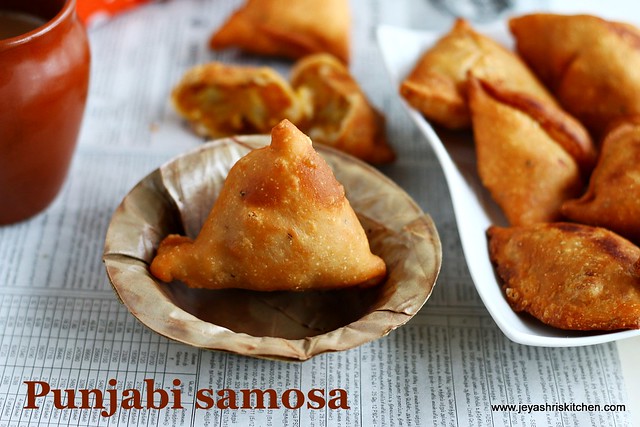
PUNJABI SAMOSA RECIPE | PUNJABI ALOO SAMOSA WITH VIDEO

samosa recipe
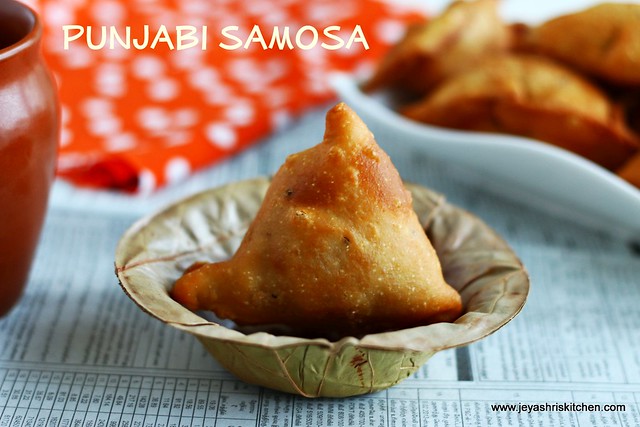
Punjabi samosa, the name it makes us to salivate for us. I have already posted a triangle samosa recipe but making this punjabi samosa was my dream. A friend in our apartment used to make this everyday and gives them to the nearby shop . If we order with her in advance she will make for us too. I tasted it once in a party, but got many good feed backs from my friends who regularly buy from her. I asked her one day can you teach me how to make the shapes of punjabi aloo samosa. She immediately said whenever you want you come. So one fine evening i went to her house and learnt the shaping of samosa. She patiently explained me and cleared my silly doubts too. Even before making this yesterday and send few doubts over whats app messages and she explained to me. Here you go, i finally made the punjabi samosa and given the recipe with step wise pictures and video of shaping the samosa too. It needs practice and also not very difficult as we think. do try this at home, as home made ones are always the best. Waiting to hear from you.
Check the video below as how to shape the samosa.


Punjabi Samosa 

  Preparation Time : 20 mins + 1 hr resting time | Cooking Time : 40 Mins |Makes: 12

     For the outer cover  
 All purpose flour | Maida     1 cup
 Sooji|rava     1 tblsp
 Oil          3 tblsp
 Salt        to taste
 Ajwain | omam   1/4 tsp

   For the filling 
 Potato      3 medium size
 Red chili powder     1/2 tsp
 Coriander seeds     1/4 tsp
 Jeera powder     1/4 tsp
 Amchoor powder    1/4 tsp
 Ajwain       1/4 tsp
 cumin seeds      a pinch
 Salt    to taste
 Garam masala      2 pinches
 Oil       2 tsp
Oil       to deep fry    
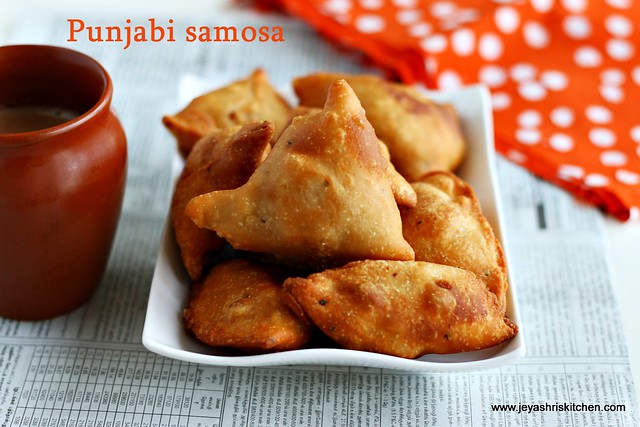
     

Punjabi-aloo samosa
Method:
  • First let's make the dough as it needs to rest for an hour.
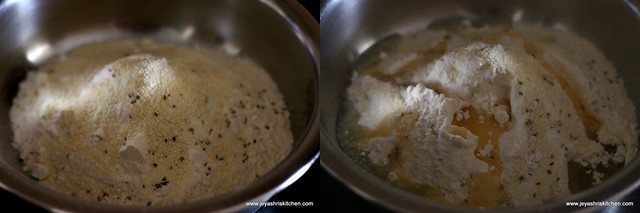
  • In a wide bowl add the flour, sooji, salt and ajwain seeds.
  • Add the oil too.
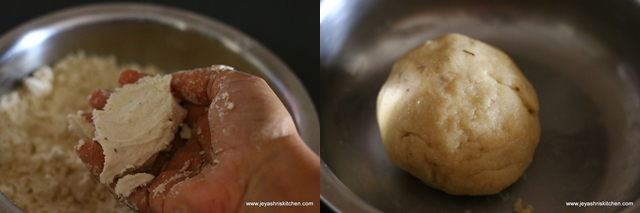
dough for samosa

  • Mix it well till the flour becomes crumble.  If you  could hold the flour in your hands it should hold into a shape. You can add ghee too instead of oil.
  • Add little water and make it into a smooth dough.
punjabi-samosa
  • Cover this properly and keep it aside for an hour.
Now lets make the filling:
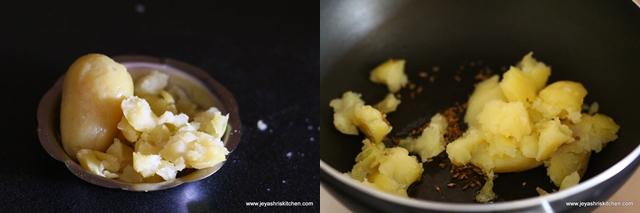
  • Boil the potatoes in a pressure cooker till 3-4 whistles. Take out the skin and mash the potatoes nicely.
  • In a pan add oil and add in the jeera and ajwain. Coarsely pound the coriander seeds and keep it aside.
  • Add in the mashed potatoes.
add-mashed potato
  • Add in the red chili powder, amchoor powder, garam masala and coarsely pound coriander seeds. If you want u can coarsely pound cumin seeds and peanuts too. I added cumin powder.
  • If u want you can add cashew nuts too. Since we are frying the samosa you can add it as it is. No need to fry the cashews.
  • Cook this for few minutes and mix well nicely. Switch off the flame. Samosa filling is ready.
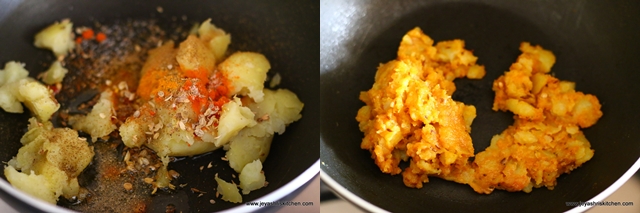
punjabi-samosa filling

Lets make the shaping of samosa.
  • Take a medium lemon sized dough and roll this into a oblong shape thin roti.
  • Cut this diagonally using a sharp knife. 
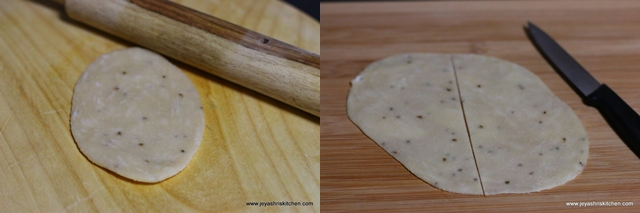
punjabi-samosa
  • Take one portion and apply little water on one end of it as shown in the picture.
  • Bring both the edges backwards and make a cone shape.
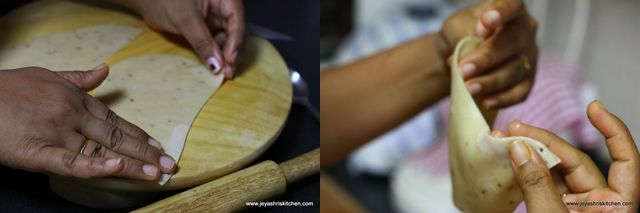
how -to shape- samosa
  • Make a cone shape by sealing both the edges. Be careful to seal it properly ,else it will break in oil.
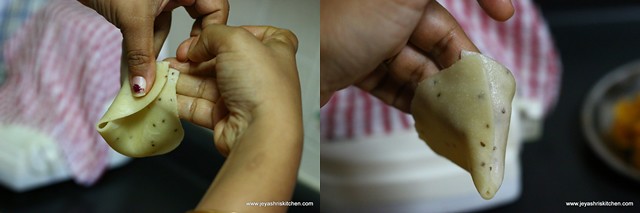
shaping-samosa
  • Place 1 tblsp of potato filling into this . 
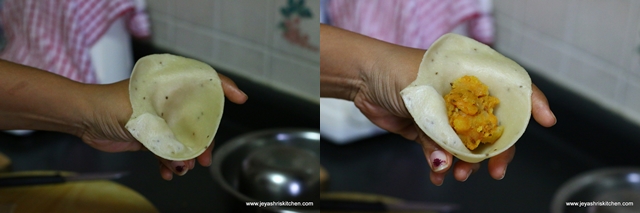
punjabi potato samosa
  • Apply water on the edges of the outer  cover. Bring both sides together.
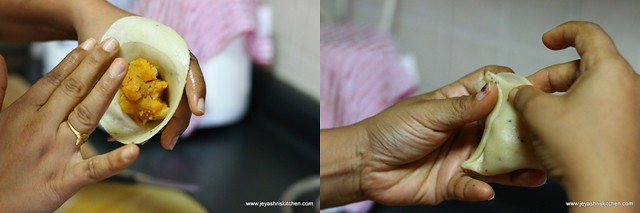
potato filling
  • If needed you can fold the edge and bring it together as shown in the picture below.
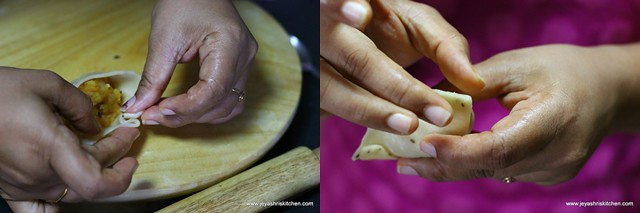
how to make shape samosa
  • Samosas are ready. Repeat this same procedure for rest of the dough. For the filling was perfect for the dough, a small piece of dough i discarded since i don't have filling.
punjabi+samosa
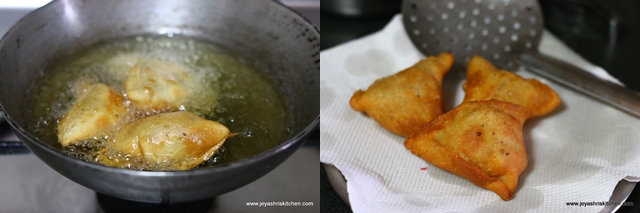
  • Heat the oil for deep frying.
  • When it is hot bring it to medium heat and put 2-4 samosas at a time, depends on the size of the pan.
  • Do not over crowd the pan.
  • Deep fry on both sides till golden brown.
  • Drain excess oil in a Kitchen towel.
deep fried - samosa
Punjabi+ samosa
Notes:
  1. Resting time for the dough is must to make the outer crust crispy and smooth while shaping them.
  2. Adding onions and peas to the masala is purely of your choice. 
  3. Go ahead and make any type of masala you want to fill.
  4. While sealing ensure it is sealed properly. Else it may break into the oil while frying and make a mess.
  5. Always keep the made samosa covered till you fry them.
  6. If you want to fry the next day, you can do this too. After making put them in big ziplock bags and keep it in the freezer. 
  7. You can take it out from the freezer and fry it the next day. No need to thaw it for a long time.


  • Digg
  • Del.icio.us
  • StumbleUpon
  • Reddit
  • RSS

SEV PURI RECIPE | SEV PURI CHAAT

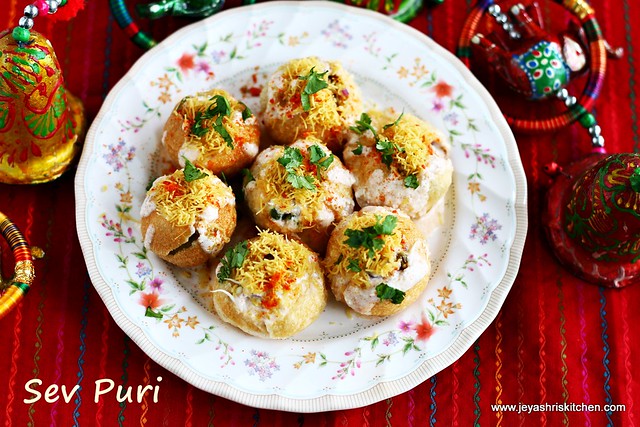
sev-puri
Sev puri is a mumbai street chaat recipe and we all are a huge fan of this Sev puri Chaat. I was craving for this for the past few days. As holi festival, is round the corner, i know many of them make sweets and savouries. Many of them make chaat recipes too for holi festival too. Let's see how to make Mumbai street style  Sev puri chaat. Yesterday after a very tiring day, immediately after clicking the sev puri , happily had 7 puris all by myself for my lunch.
  Happy to share that my recipe got featured in Kungumam Thozi,a popular tamil magazine, this March 2015 edition. Will share the recipe here next week.
Media-buzz


Sev puri Chaat

  Preparation Time : 15 mins | Cooking Time : 10 Mins |Serves: 1-2

    Puri       7
   Green Chutney      2 tsp
   Sweet Chutney    2 tsp
   Potato    1
  Sprouts | boiled green gram    2 tblsp
  Onion      1
  Red chili  powder    to taste
  Yogurt | curd     1/2 cup
   Sugar     1/2 tsp
  Jeera powder    2 pinches
  Chaat masala    2 pinches
  Salt     to taste
  Coriander leaves    to garnish
  Sev       to garnish    
     
     
sev-puri-chaat
Method:
  • Boil the potatoes and mash it nicely. Add salt and jeera powder to this and keep it aside.
  • Take yogurt in a bowl and beat this well and add little red chili powder, salt, sugar and chaat masala to this and mix well. Always use thick curd.
  • I used plain sprouts, you can use steamed sprouts or boiled green gram too. While boiling do not mash it. Chop the onions finely and keep it.
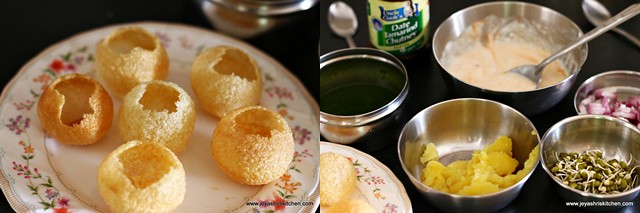
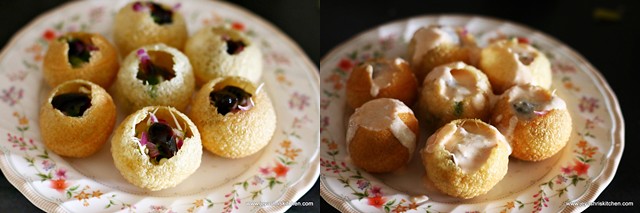
  • Break the puris in the middle. Just make a dent. and arrange them on the serving plates.
puri+chutneys
  • Now let me explain how we should arrange the sev puri chaat.
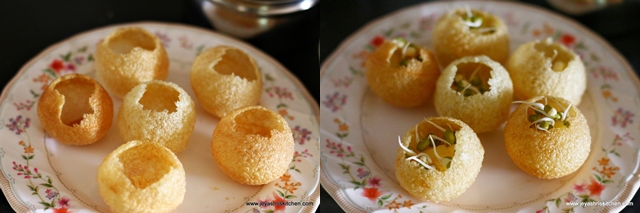
  • Add little potato mixture inside all the puris.
  • Next add little sprouts or boiled green moong dal.
add potato+sprouts
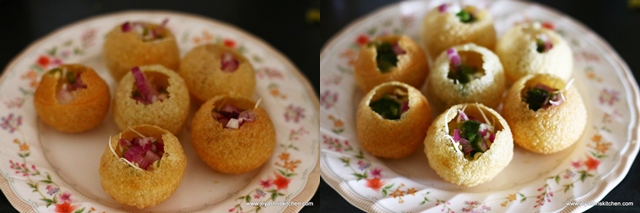
  • Add onions to this. Add  little green chutney now.
Add onions+green chutney
  • Add little sweet chutney into each puri now and add the spiced curd | yogurt.
Add chutney+dahi
  • Sprinkle red chili powder, chaat masala on the puris.
  • Any curd is left over just pour on the puris.
  • Garnish with sev and coriander leaves.
sev-poori

  • Serve immediately. Else the pooris will become soggy.
  • when i started clicking itself the pooris started become soggy. So i finished clicking fast and enjoyed them .
sev-puri
Notes:
  1. The quantity of chutneys depends on your taste. Feel free to add more green chutney if you want it slightly spicy.
  2. You can add pomegranate for garnishing to make it more healthy. 

  • Digg
  • Del.icio.us
  • StumbleUpon
  • Reddit
  • RSS

MOONG DAL BHAJIYA RECIPE | MOONG DAL PAKORAS

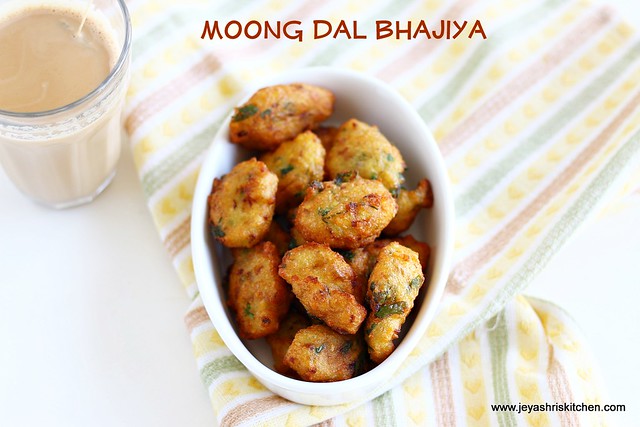
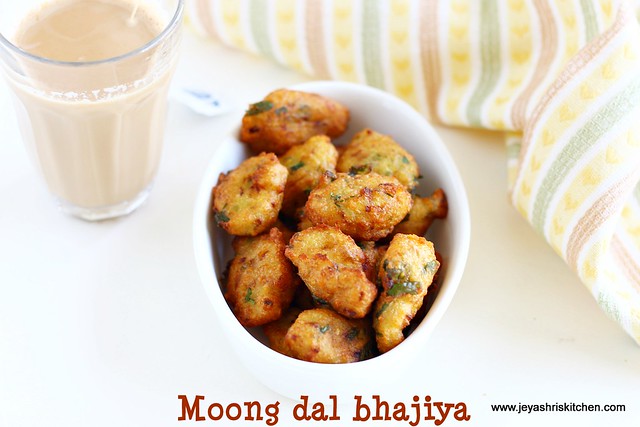
Moong dal Bhajiya
Looking for a interesting and easy tea time snack, then this moong dal bhajia | Pakora recipe is a perfect one for that. I happened to taste this in a friend's place during Navratri last year. Later i noted down the recipe from her but completely forget about that. When i was going through my last year's notebook, i happened to see this recipe of moong dal pakoda. So made this yesterday. It turned out very well. She didn't add onions to the recipe when she made it, but i added in the post. This pakora tasted great without onions too.


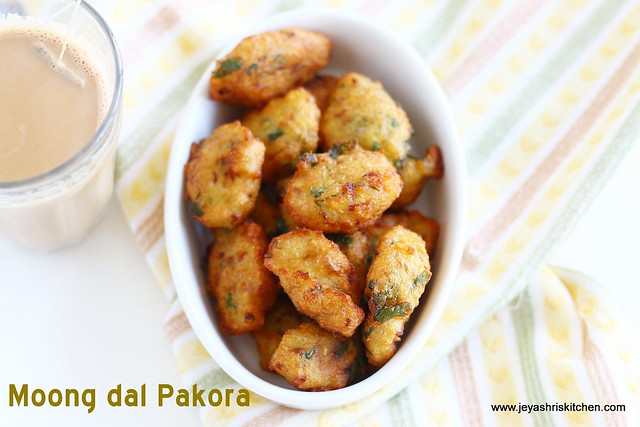
Moong dal pakora

  Preparation Time : 3 hours | Cooking Time : 20 Mins |Makes: 25

     Moong dal   1/2 cup
     Potato    1
     Green chili   2
     Ginger    a small piece
     Salt    as needed
     Coriander leaves     few
     Onion   1 (optional)
     Oil     to deep fry


Moong dal pakora
Method:
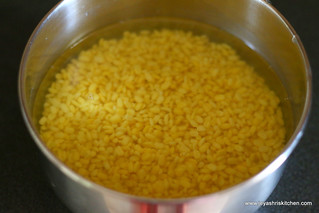
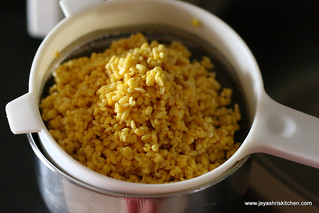
  • Wash and soak the moong dal for 3 hours. Drain the water completely after 3 hours. Meanwhile boil the potato and peel the skin and keep it aside.
Soakdrain
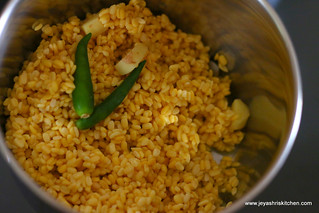
  • Grind this along with ginger and green chili. Do not add any water while grinding. If need just sprinkle 1 or 2 tsp of water.
  • When it is coarsely done, add the cooked potato to this.
to grindadd- potato
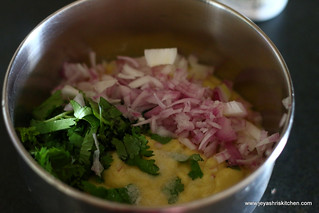
  • Grind this into a smooth batter. Add finely chopped coriander leaves and finely chopped onions too. Add salt.
  • Heat the oil for frying, when the oil becomes hot, keep the flame medium.
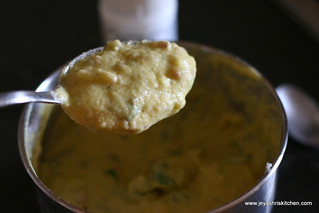
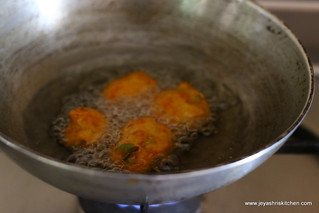
  • Spoon in the batter into the oil .
add-onionsSppon-batter
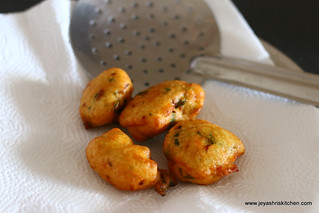
  • Cook on both sides till it become golden brown and drain it in a kitchen towel.
pakoda fryingbajji
  • Moong dal bhajjis are ready to serve. Serve with green chutney or tomato sauce.
Moong dal pakoda
Notes:
  1. If the batter is very watery add 1 to 2 tsp of rice flour to this.
  2. Ensure that you drain the water completely before grinding.
  3. After adding potatoes the batter will loosen, so do not add water.
  4. You can add finely chopped green chili instead of grinding. But since to avoid coming into the mouth while eating grinding is preferred.
  5. Instead of chili finely pound black peppers can also be added.
  6. Traditional Maharastrian bhajiyas will include coarsely pound coriander seeds too | dhaniya seeds.

  • Digg
  • Del.icio.us
  • StumbleUpon
  • Reddit
  • RSS

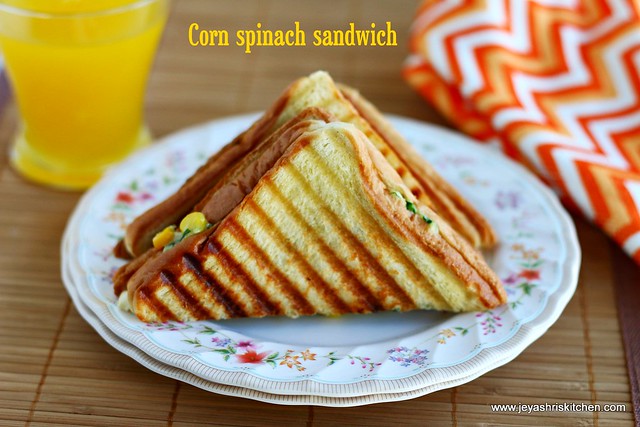
CORN AND SPINACH SANDWICH | CHEESY CORN AND SPINACH SANDWICH

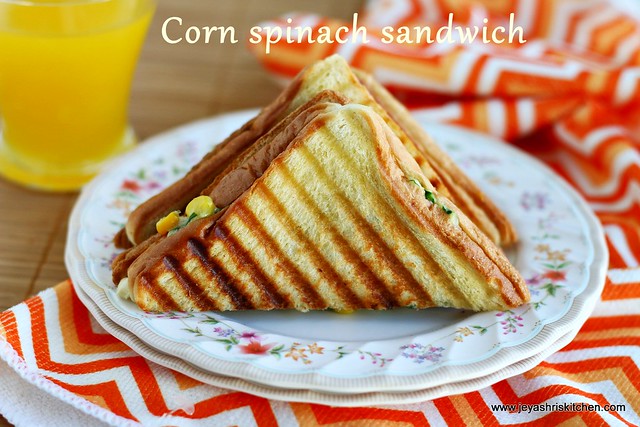
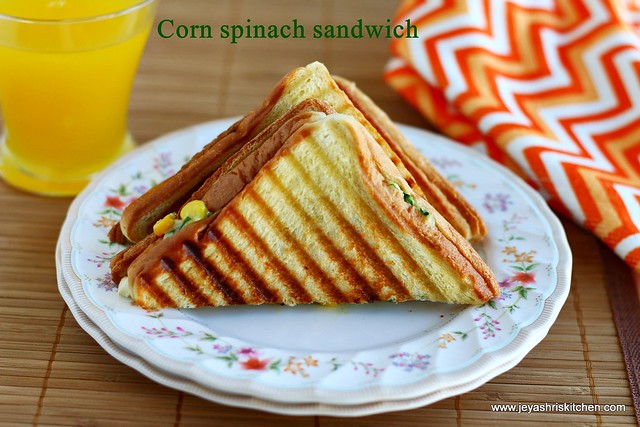
corn-spinach sandwich
Few days back while casually talking with a friend she was telling that she made corn spinach sandwich for breakfast. I have heard about this winning combo of cor, spinach and cheese in sandwich but never tried. So wanted to try out this cheesy corn and spinach sandwich as i had all the ingredients at home. It turned out very well, clicks were not upto the level i expected but i don't want to miss posting this recipe. You can try this sandwich on weekend for breakfast or for evening snack too. Perfect snack for kids when they come back from school.
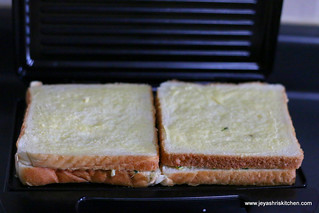
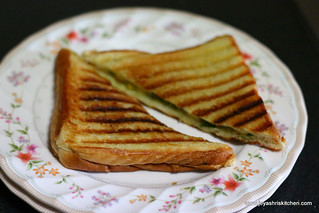

Corn and spinach sandwich

  Preparation Time : 15 mins | Cooking Time : 20 Mins |Serves: 3

     Bread slices        8
     Sweet corn *      1/2 cup
     Spinach          1/2 cup (finely chopped)
     Grated Cheese    1/4 cup
     Butter     1 tsp + to spread on the bread
     Maida | all purpose flour   2 tsp
     Milk     1/2 cup
     Salt      to taste
     Red chili flakes    to taste
     Oregano | pepper    to taste  
     Oil    1 tsp   
* I cooked the corn in pressure cooker and took the kernels out. If you are using frozen corn, just thaw it for 10 minutes and use.     
     

cheesy-corn spinach-sandwich
Method:
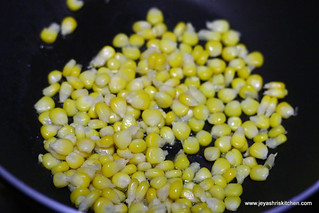
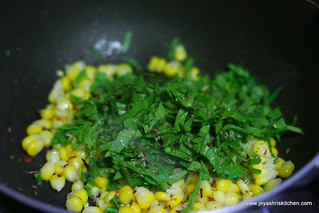
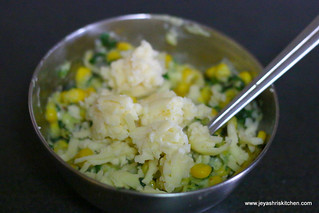
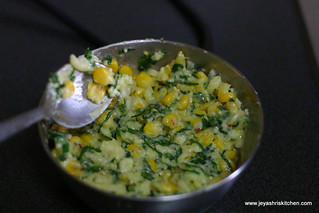
  • In a pan add oil and add the corn kernels and saute for a minute, add the spinach to this and cook for a minute.  Add salt, red chili flakes , oregano or pepper powder to taste.
  • Cook for a minute and put off the flame.
IMG_0698IMG_0700
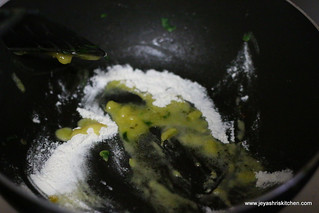
  • In the same pan, add butter and add int the maida flour also. Saute in a low flame till the butter and the flour gets nicely incorporated. 
  • Add the milk and cook it in a low flame without getting any lumps. 
  • It will take 2 minutes for you to get a nice paste. Put off the flame and add it to the cooked corn and spinach mixture.
  • Add the cheese to this and mix well.
  • You can either do in the tawa or in the sandwich grill too.
  • Spread butter on the bread and spread the filling in one side of the bread. Top it with another bread and cook in a sandwich maker or tawa till the top portions become nice golden brown.
  • If you want you can serve them by cutting this into triangles.
cheesy corn spinach sandwich
  • Serve this hot .
corn and spinach sandwich
Notes:
  1. Instead of oregano and red chili flakes you can add finely chopped green chili and chaat masala too.
  2. You can skip the step of adding the maida white sauce too. Just cook the corn and spinach and add the grated cheese and go ahead.
  3. If the top portions need to browned nicely add butter nicely.

  • Digg
  • Del.icio.us
  • StumbleUpon
  • Reddit
  • RSS

KHATTA DHOKLA RECIPE | MILLET DHOKLA RECIPE

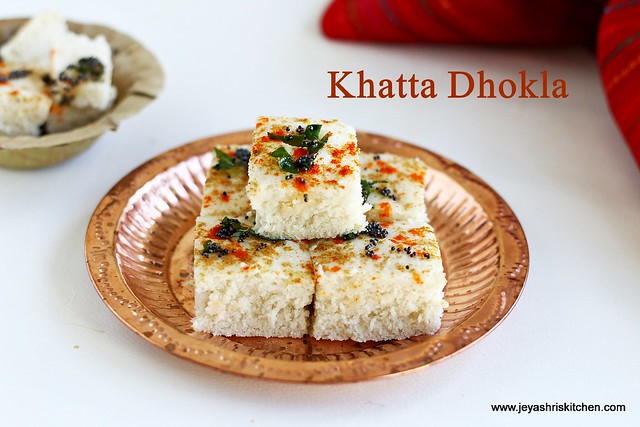
Khatta-dhokla
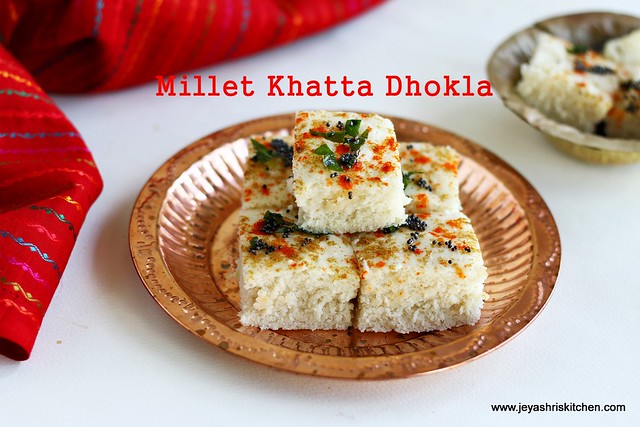
Khatta Dhokla is a healthy gujarati snack made with rice and urad dal. I wanted to try this for a long time . Since i have tried idli withVaragu , i thought let me replace in this dhokla recipe too. Varagu arisi is  also called as Kodra in Hindi and Harka in kannada and Koovaragu in malayalam. The dhoklas turned out very soft and spongy. I just tried this recipe in small portion and also  i have mentioned in the ingredients list too. Try out this Millet Khatta dhokla and enjoy your evening snacks.


Millet Khatta Dhokla 

  Preparation Time : 2 hrs+ 7 hrs fermentation | Cooking Time : 15 Mins |Makes: 10-12 pieces

     Varagu Arisi       1 portion
     Urad dal   1/4 portion
     Green Chili    1
     Ginger     a small piece
     Yogurt     2 tblsp
     Eno fruit salt  3/4 tsp
     Oil     2 tsp
     Red chili powder     2 pinches
     Jeera Powder     2 pinches
     Mustard   seeds   1/4 tsp
     Curry leaves     few 
     Salt     to taste    
     

Millet-khatta-Dhokla
Method:
  • Wash the varagu rice and urad dal and soak it in water for 2 hours. 
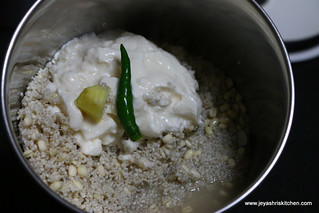
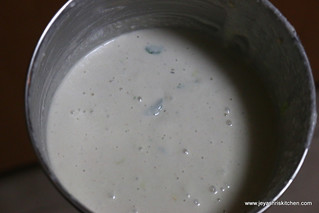
  • Grind this with green chili and ginger into a grainy texture. Add yogurt while grinding.  Let the mixture be thick and not too watery. Add salt and ferment this for 7-8 hours or overnight.
to-grindground-batter
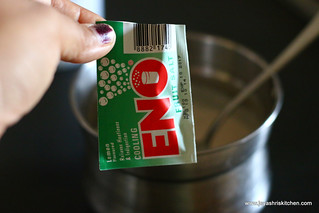
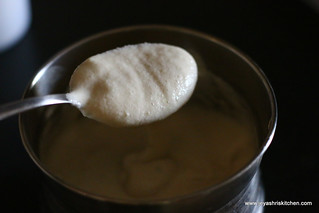
  • Before making the khatta dhokla, add eno salt to this and mix well. The eno salt makes the batter airy and make the dhokla fluffy and soft. Add 1 tsp of oil to the batter.
add-enoIMG_0513
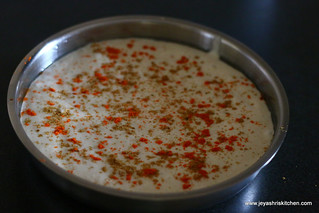
  • Grease a plate with oil and add the batter to this. Sprinkle with red chili powder and jeera powder.
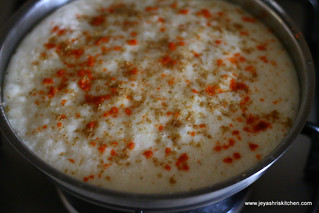
  • Steam this for 10 to 12 minutes. Insert a tooth pick in the center of the dhokla and if it comes out clean, switch off the flame,
ready-to steamsteamed-dhokla
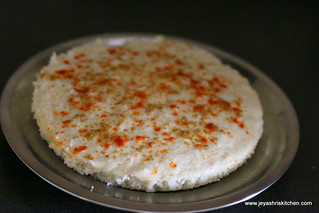
  • Invert the plate and take out the steamed dhokla. 
  • Temper with mustard seeds and curry leaves.
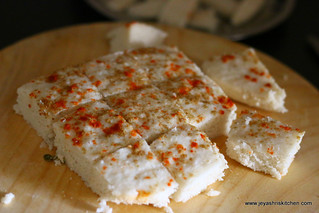
  • Cut them into squares or triangles using a sharp knife.
dhoklaKhatta-dhokla
  • Khatta Dhokla is ready to serve, 
Varagu-Khatta-dhokla

Check out my other interesting millet recipes:


Notes:
  • Instead of eno salt you can use 1/2 tsp of baking soda. 
  • I just tempered with mustard seeds and curry leaves. You can add while sesame seeds or green chili too.
  • The dhoklas stayed soft for 3-4 hours. 
  • If the yogurt is sour, add them just before making. If they are normal add while grinding and while when it is fermenting along with the batter, it will become sour. 
  • If the sourness of the batter is less, add little lemon juice to this.

  • Digg
  • Del.icio.us
  • StumbleUpon
  • Reddit
  • RSS